Boost stations in Warborne: Above Ashes are a critical gameplay mechanic that can give players a significant advantage in both PvE and PvP. Proper use of these stations can enhance your combat efficiency, maximize damage output, and improve survivability. This guide explores how to leverage boost stations effectively, along with tips on weapon synergy with Warborne Solarbite and Warborne Above Ashes Solarbite.
Understanding Boost Stations
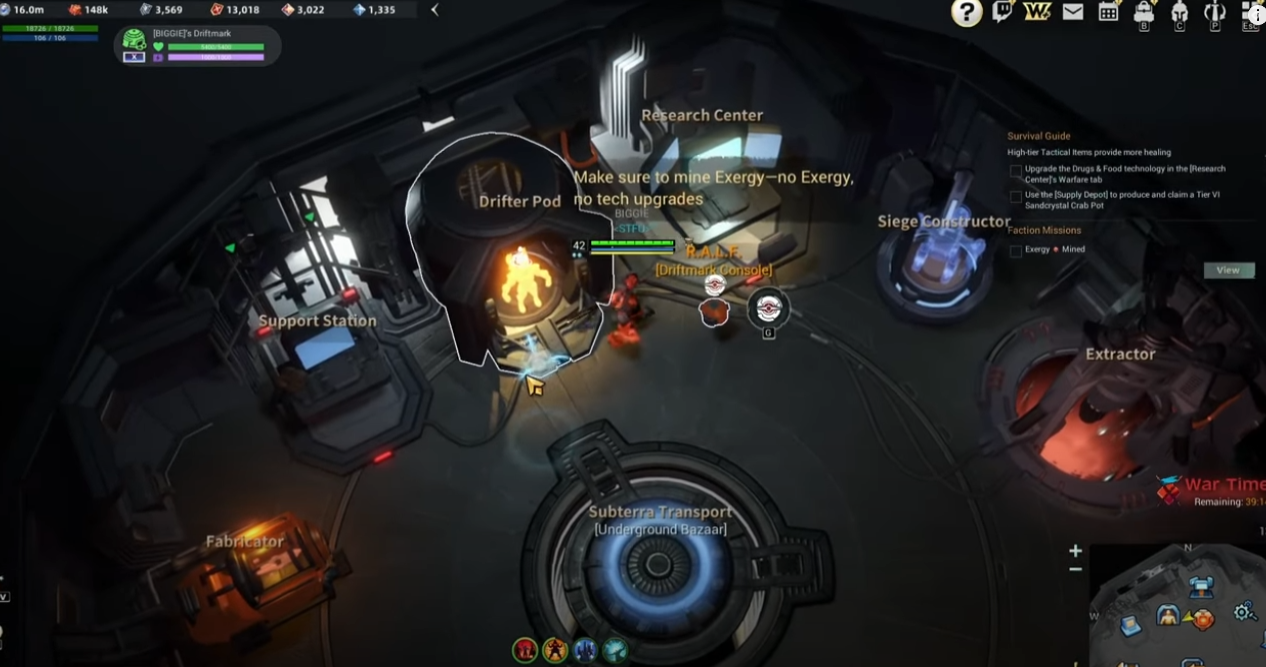
Boost stations are interactive points on the battlefield that grant temporary enhancements such as increased attack speed, critical chance, movement speed, or defensive bonuses. Recognizing when and how to utilize these stations can shift the momentum of a battle in your favor.
Each boost station has a cooldown period, so timing your usage strategically is essential. Attempting to activate a station too early or during the wrong engagement may result in wasted potential.
Positioning and Timing
Effective positioning is key when using boost stations. Place yourself near a station before entering combat so you can activate it without delay. In PvP, controlling the area around a boost station can prevent opponents from benefiting while giving your team a tactical advantage.
Timing is equally important. Activate boost stations just before executing a burst rotation or engaging high-priority targets. For example, when wielding Warborne Solarbite, using a boost station to increase attack speed or critical damage allows you to maximize each strike during a short engagement window.
Weapon Synergy
Certain weapons benefit significantly from boost station effects. Warborne Above Ashes Solarbite, with its high base attack speed and damage scaling, pairs exceptionally well with boosts that amplify critical chance or damage. Activating a boost station while using this weapon can lead to devastating combo potential, particularly in PvP encounters or boss fights.
Even more traditional weapons like Warborne Solarbite gain an edge from boost stations. The increased attack speed or damage can turn a standard rotation into a high-damage sequence, giving players an edge in both solo and group scenarios.
Strategic Uses in Combat
-
Burst DPS Windows: Use boost stations immediately before initiating a damage rotation to maximize burst potential.
-
Zone Control: Holding a boost station can force opponents to fight on your terms, especially in PvP arenas.
-
Survivability: Some boost stations provide defensive enhancements, which can be used to sustain health during prolonged encounters or while retreating.
-
Combo Amplification: Pairing boost effects with skill rotations and weapons like Warborne Above Ashes Solarbite allows for optimized damage chains that can overwhelm enemies quickly.
Advanced Tips
-
Coordinate with Team: In team-based modes, timing your boost station usage alongside allies can amplify the overall effectiveness.
-
Observe Cooldowns: Keep track of both your boost station and skill cooldowns to ensure optimal synergy.
-
Practice Activation Timing: Familiarity with your weapon’s attack cadence, particularly with Warborne Solarbite, allows you to align boosts with peak damage moments.
Boost stations are more than simple enhancements—they are tactical tools that can define the outcome of battles in Warborne: Above Ashes. By mastering positioning, timing, and synergy with weapons like Warborne Solarbite and Warborne Above Ashes Solarbite, players can significantly increase both survivability and damage output.
Understanding how to effectively leverage boost stations allows you to control the battlefield, execute devastating rotations, and maintain a competitive edge in both PvE and PvP encounters. Skillful use of these stations separates average players from top-tier performers, making them an indispensable part of advanced gameplay.