Introduction
Have you ever wanted to take a favorite photo, logo, or sketch and turn it into a jaw-dropping embroidered design? Whether it’s branding your business’s aprons or stitching a personal masterpiece onto a quilt, digitizers for embroidery make it happen. These tools—software or professional services—transform your images into stitch-ready files that embroidery machines can read, bringing your ideas to life with vibrant threads. From hobbyists crafting gifts to entrepreneurs building a brand, digitizers open up a world of creative possibilities without requiring years of expertise. This guide dives into how these tools work, why they’re essential, and how to use them for stunning results. Let’s unpack the magic of digitizers for embroidery and get you stitching like a pro.
Digitizing bridges the gap between flat images and intricate stitch patterns, ensuring your designs look sharp on any fabric. With the right approach, you can create professional-quality embroidery that pops, all while keeping the process fun and approachable.
What Are Digitizers for Embroidery?
Digitizers for embroidery are tools—either software programs or professional services—that convert images like JPGs, PNGs, or vectors into embroidery file formats such as PES, DST, or JEF. These files tell your machine where to place stitches, what colors to use, and how dense to make them. Think of digitizers as translators, turning pixel-based or drawn designs into precise needle instructions.
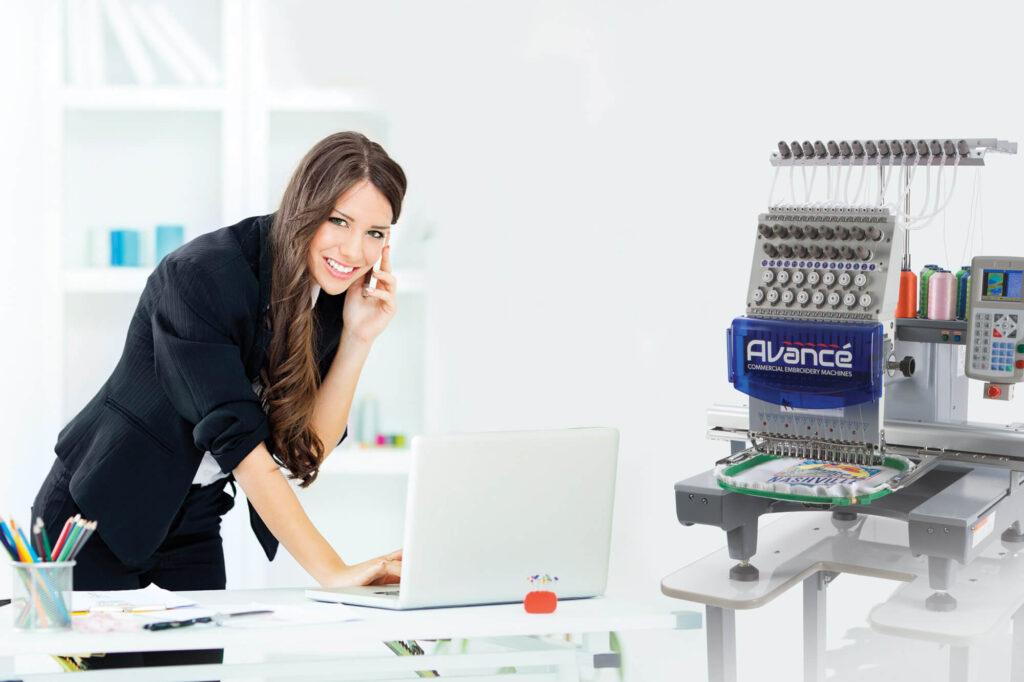
Software options, like Brother PE-Design or free tools like Ink/Stitch, let you DIY the process, tracing images and assigning stitches yourself. Professional services, on the other hand, have experts who handle the heavy lifting, analyzing your image and optimizing it for your machine and fabric. Both approaches aim for the same goal: clean, vibrant designs that stitch smoothly without puckering or gaps.
The beauty of digitizers? They make embroidery accessible. You don’t need to be a tech wizard to create files that work with machines like Brother, Tajima, or Bernina. Whether you choose software or a service, digitizers empower you to customize with ease.
Why Digitizers Are Essential
Digitizers are the backbone of modern embroidery, turning ideas into reality. For businesses, they ensure consistent branding—your logo looks as crisp on a hat as it does on a website. This uniformity builds trust with clients and sets your products apart. A single digitized file can be reused across projects, saving time and money.
Hobbyists love digitizers for their creative freedom. Turn a child’s drawing into a stitched patch or a vacation photo into a wall hanging. Digitizing skips the need for manual tracing, which can take hours and still fall short. Professional services cost $15-$50 per design, while software ranges from free to a few hundred bucks—both cheaper than outsourcing entire embroidery jobs.
Digitizers also handle complexity. Fine text, intricate patterns, or 3D puff effects? They optimize stitch paths to prevent thread breaks or fabric distortion. Plus, they support multiple machine formats, so you’re covered whether you’re stitching on a home machine or an industrial setup.
How Digitizers Work
The digitizing process starts with your image—JPGs, PNGs, or vectors like SVG are common. If using software, you import the image into a program like SewArt. The tool traces the design, converting pixels to vector paths that define stitch outlines. You then assign stitch types—satin for borders, tatami for fills—and adjust density to suit your fabric, like 0.4 lines per mm for lightweight materials.
Professional services follow a similar flow but with expert finesse. You upload your image and specify your machine (e.g., Brother PE800), fabric, and size. The digitizer traces the design, optimizes stitches, and matches colors to thread charts like Isacord. They set sewing order to minimize jumps and add underlay for stability on stretchy fabrics.
Both approaches include a preview stage. Software simulates stitches on-screen; services send a PDF mockup. This lets you catch issues like dense overlaps before stitching. The final file—say, PES for Brother—is exported, ready for your machine. Test it on scrap fabric, tweak if needed, and you’re set.
Choosing Between Software and Services
Deciding between DIY software and professional services depends on your needs. Software like Ink/Stitch (free) or Embrilliance ($150-$200) suits hands-on crafters. They offer control to tweak designs, perfect for experimenting with patterns or learning digitizing. However, they require time to master, especially for complex images.
Professional services are ideal for speed and precision. For $15-$50, experts deliver files in 24-72 hours, tailored to your machine and fabric. They’re great for businesses with tight deadlines or hobbyists wanting pro results without the learning curve. Look for services with strong portfolios and reviews on sites like Etsy or Trustpilot, ensuring they handle your design style—logos, text, or photos.
Hybrid approaches work too. Use software for simple designs, then hire a pro for intricate ones. Either way, confirm compatibility with your machine’s format (e.g., DST for Tajima) to avoid hiccups.
Tips for Stunning Embroidery Results
Start with high-res images—300 DPI or vectors—for crisp tracing. Clean up in GIMP, removing backgrounds or simplifying colors to 5-8 shades.
Specify fabric and machine details. Dense stitches tear silk; pros or software need this info to adjust.
Test files on scrap fabric matching your project. Check for puckering or gaps and refine as needed.
Save versions—“Logo_v1.pes,” “Logo_v2.pes”—to track edits and reuse files.
Join forums like Embroidery Library for free tips, tutorials, and design swaps to spark ideas.
Common Mistakes to Avoid
Using low-res images leads to jagged stitches. Always opt for high-quality JPGs or SVGs.
Skipping fabric details risks poor results. Dense designs on stretchy materials need lighter settings—share specifics upfront.
Ignoring previews can waste thread. Review stitch simulations or mockups to catch errors early.
Overcomplicating colors slows stitching. Limit to 6-8 shades; digitizers can consolidate for efficiency.
Loose hooping shifts designs. Secure fabric tightly and check machine tension before running.
The Impact of Digitizers on Creativity
Digitizers unlock endless possibilities. Businesses can churn out branded merch—think logos on bags or uniforms—without breaking the bank. Crafters turn personal sketches or photos into heirlooms, like a stitched family portrait. The ability to digitize quickly means more time for creativity, not troubleshooting.
Advanced features, like 3D puff or applique, add flair. Software and services both support these, letting you experiment with textures or layered fabrics. As AI-powered digitizers grow, they’ll automate even more, suggesting stitch types or optimizing for eco-friendly thread use, making embroidery greener and faster.
Conclusion
Digitizers for embroidery are your key to turning images into stunning stitched creations, whether you’re branding a business or crafting personal treasures. From user-friendly software to expert services, these tools make professional-quality embroidery accessible, saving time and boosting creativity. By starting with clean images, testing files, and choosing the right digitizer, you ensure every stitch lands perfectly. So, grab your favorite design, fire up a digitizer, and watch your ideas transform into vibrant threads. Your next embroidery masterpiece is just a file away!