When undertaking a renovation or new build, the decision around the electrical wall switch deserves attention. Beyond simply choosing a style, one must consider wiring logistics, switch orientation, gang count, socket proximity and material finish. These decisions affect both function and appearance in every room.
Begin with planning the wiring path. The switch should sit in a standard switch-box behind the wall, allowing for secure attachment of the module and clearance for the panel. Ensure that the live feed and switched live wires are accessible, the neutral is handled properly (depending on the type of switch circuit), and that the earth connection is intact if required. Use wires of appropriate gauge for the expected load, and always test the circuit before attaching the faceplate. The mechanical life of the switch matters: many products promise tens of thousands of operations, ensuring longevity with everyday use.
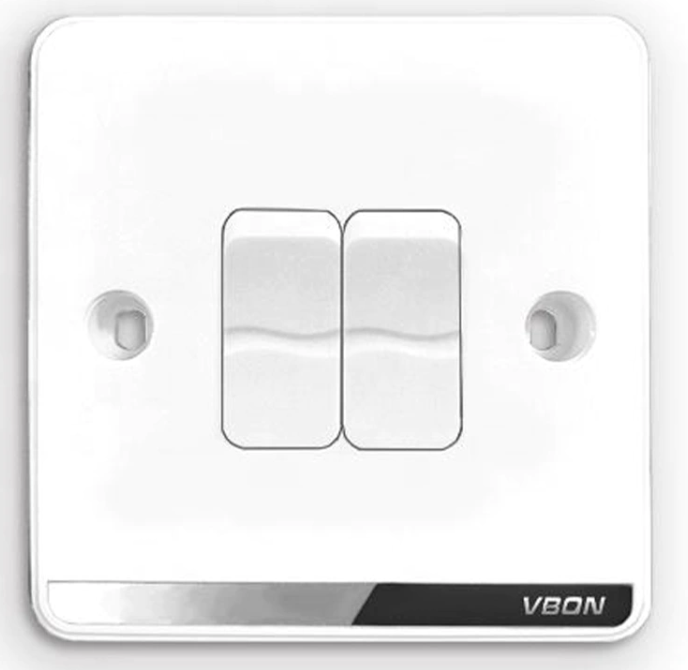
Selecting the right gang configuration is important. A single-gang one-way switch suits a basic setup. If there are two lights in the ceiling or a combination of lights and fan, a two-gang switch may be more appropriate. Multi-way switching (e.g., two-way or three-way) allows control from different locations, such as at each end of a corridor. In such cases, the switch mechanism and wiring must support that arrangement. Adjacent to the switch panel one may find a socket outlet—care must be taken in layout and segregation of wiring to maintain safety and user convenience.
Material and design choices for the switch plate affect aesthetics. Panels made from PC, bakelite, or metal-back styles, and finishes like matte wood grain, brushed gold or black panel give users variety. Some models incorporate LED indicators or reset functionality for added peace of mind. Customisation supports matching décor, where the wall switch becomes a design element rather than simply functional. The coordination between switch plate colour, wall tone, and lighting fixtures can elevate the feel of the space.
When installing the wall switch, tighten the terminal screws firmly, check for loose wires, ensure no strands are protruding and that insulation is not damaged. After fixing the module to the switch box, attach the face plate and then perform a final test: turn on the connected load (light or fan) to confirm the switch operates smoothly, without flicker or noise. For heavy-duty applications ensure that the switch rating matches the load: a rated current of 16 A or more may be required for high-power circuits.
Maintenance and replacement should also be considered. Over time, the rocker may loosen or the mechanism may wear—when that happens, replacing the switch promptly avoids potential hazards. Keep records of installation date and note the load connected. In homes seeking subtle improvements, upgrading to an ultra-thin wall switch panel or a reset-type socket switch can contribute to a cleaner surface, less shadowing and a more streamlined wall appearance.
Choosing and installing the electrical wall switch involves more than flipping a switch. It demands planning, compatible wiring design, correct panel finish and solid installation technique. With those elements aligned, the wall switch integrates seamlessly into the home’s electrical system and visual environment, providing reliable service and a refined look for years to come.