There are targeted shooting techniques and post-processing methods to mitigate the image quality impacts caused by anamorphic lens photography, such as sharpness loss, chromatic aberration, and light flare issues. Here’s a detailed breakdown:
Shooting Techniques to Minimize Quality Degradation
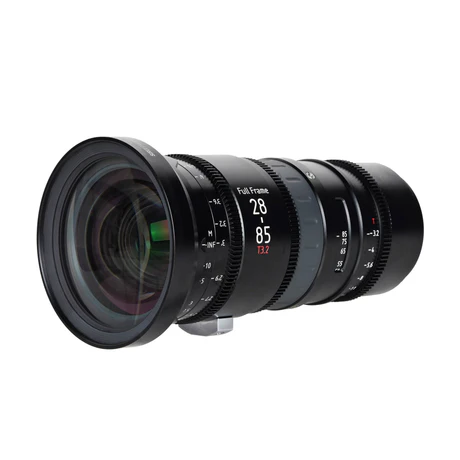
Optimize lens and filter matchingAlways use anamorphic lens photography specifically designed for your lens model or lens diameter. Ill-fitted filters can cause vignetting, uneven sharpness, or light leakage. For clip-on mobile anamorphic lens photography, ensure a tight, aligned attachment—avoid loose mounting that shifts during shooting. Additionally, pair the filter with a high-quality prime lens instead of a low-end zoom lens; prime lenses have better optical performance and can offset minor sharpness loss from the filter.
Adjust shooting parameters strategically
Aperture control: Avoid shooting at the widest aperture (e.g., f/1.4–f/2.0) with anamorphic lens photography, as this can amplify edge softness and chromatic aberration. Stopping down to f/2.8–f/5.6 can improve overall sharpness and reduce optical flaws, while still retaining the characteristic oval bokeh of anamorphic optics.
Avoid backlighting and harsh light sources: Inferior filters may produce excessive ghosting or flare when shooting against the sun or strong artificial lights. If backlighting is unavoidable, use a lens hood to block stray light—this simple accessory can significantly reduce flare and improve contrast.
Focus on the center of the frame: anamorphic lens photography often have better sharpness in the center than at the edges. When composing, place key subjects in the central area to ensure they stay clear, especially for close-up shots.
Calibrate white balance on-siteSome low-quality anamorphic lens photography may cause subtle color casts (e.g., slight yellow or blue tint). To fix this, set your camera’s white balance manually using a gray card or white surface, instead of relying on auto white balance. This ensures accurate color reproduction before post-processing.
Post-Processing Methods to Correct Quality Issues
Fix chromatic aberration and edge distortion
Most professional editing software (e.g., Adobe Lightroom, Premiere Pro, DaVinci Resolve) has built-in chromatic aberration correction tools. In Lightroom, go to the Lens Corrections panel and check the Remove Chromatic Aberration box—this automatically eliminates purple or green fringing around high-contrast edges. For stubborn cases, use the Defringe tool to target specific color fringes manually.
If the filter causes slight barrel or pincushion distortion (uncommon but possible), use the Transform or Lens Correction module to apply minor distortion adjustments. Avoid over-correcting, as this can crop the frame and reduce resolution.
Enhance sharpness without introducing noise
To compensate for sharpness loss, use localized sharpening instead of global sharpening. In Lightroom or Photoshop, apply sharpening only to the main subject (e.g., a person’s face, a product) using a mask, and keep the edges and background unsharpened—this prevents amplifying noise in flat areas.
Use the Clarity or Texture sliders moderately (increase by 5–15 points) to boost mid-tone contrast and create a perception of sharpness, without overdoing it which can make the image look unnatural.
Control flare and improve contrast
If unwanted flare appears in the footage, use the Clone Stamp Tool (Photoshop) or Patch Tool to remove small flare spots. For larger, diffused flare, lower the Highlights slider and increase the Contrast slider to restore image depth.
For intentional anamorphic flare (the desired linear flare effect), you can enhance it slightly in post: use a color grading tool to intensify the flare’s hue (e.g., warm orange or cool blue) to match your cinematic style.
Precise aspect ratio de-squeezing
anamorphic lens photography compress the image horizontally (e.g., 1.33x, 1.55x ratio). When de-squeezing in post, use the exact ratio specified by the filter to avoid stretching the image unevenly—uneven de-squeezing can make subjects look distorted and reduce perceived sharpness. Most video editing software allows you to input a custom aspect ratio (e.g., 2.39:1 for a classic widescreen look).
Key Tip
Always shoot in RAW format (for photos) or log format (for videos) when using anamorphic lens photography. These formats retain more image data and give you greater flexibility in post-processing to correct quality issues, compared to JPEG or compressed video formats.
Are there any specific shooting techniques or post-processing methods to deal with the impact of anamorphic lens photography on image quality?