Furniture makeovers have become one of the most popular DIY trends for homeowners, crafters, and interior enthusiasts. Instead of discarding old or outdated pieces, many people now prefer transforming them into stylish statement items. One of the most effective ways to elevate a plain piece of furniture is by using appliques and onlays pediment designs. These decorative accents instantly add texture, elegance, and personality, turning ordinary furniture into custom masterpieces.
This guide explains how to use appliques and onlays pediment elements effectively, from preparation to finishing touches, so you can achieve professional-looking results at home.
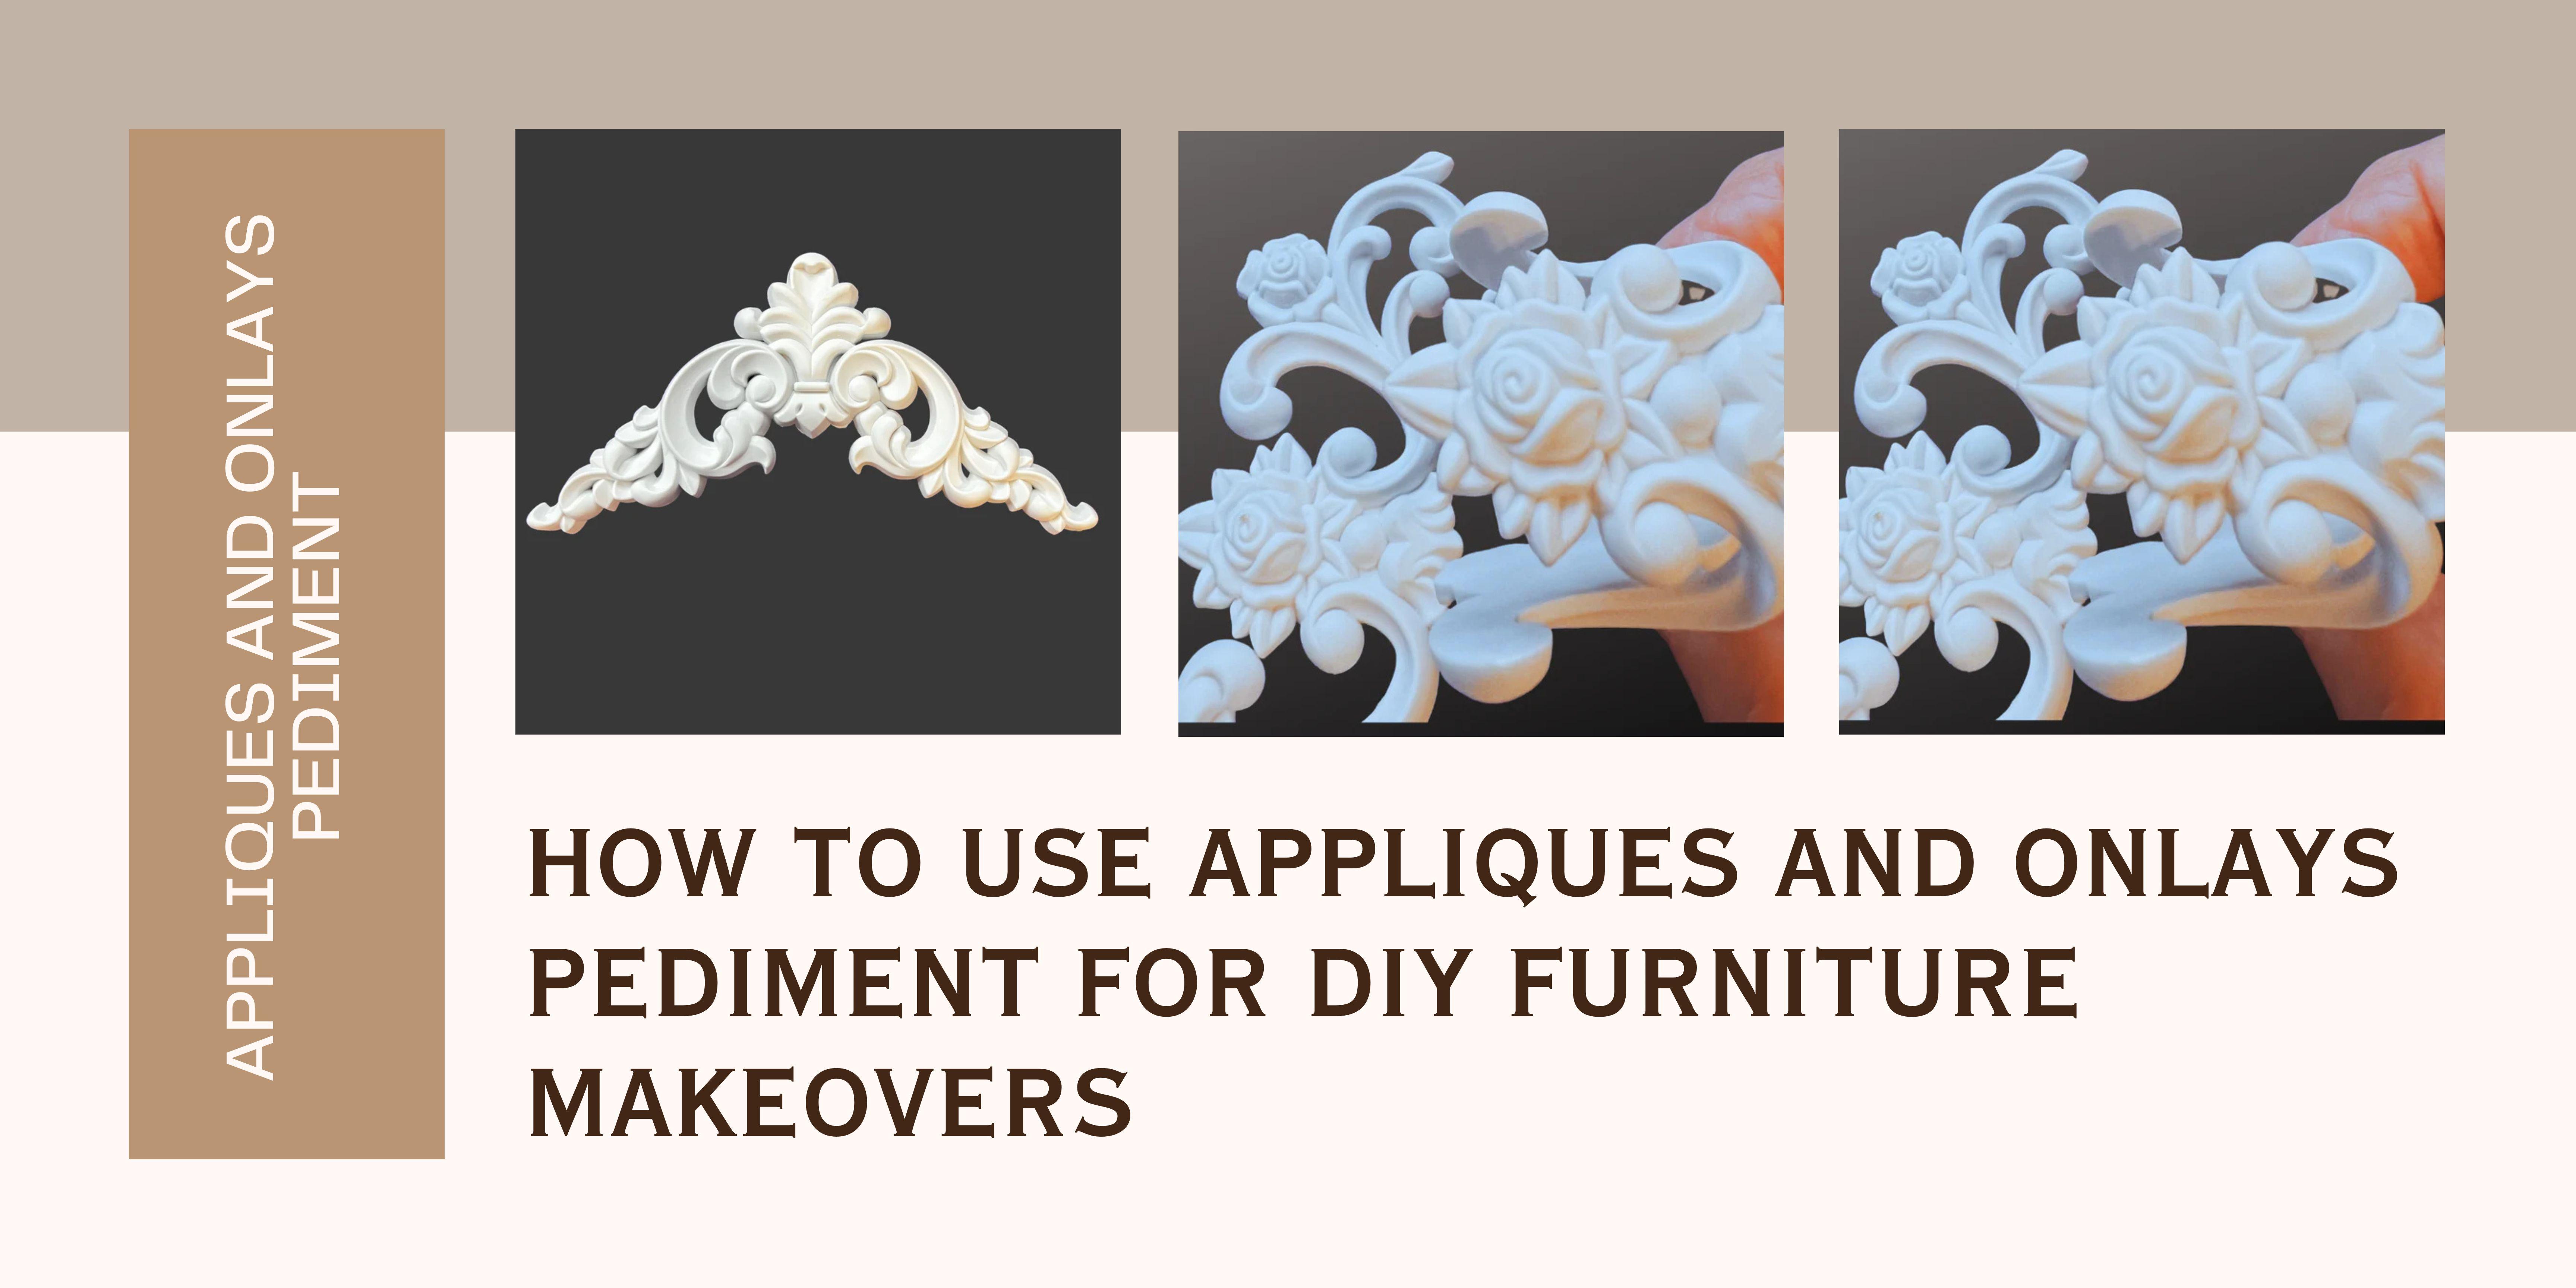
What Are Appliques and Onlays Pediment Designs?
Appliques and onlays are decorative embellishments made from materials such as wood, resin, or polyurethane. They are typically carved or molded with intricate patterns like florals, scrolls, or classical motifs. A pediment is a decorative architectural element often placed at the top of furniture, mirrors, cabinets, or headboards to create a dramatic focal point.
When combined, appliques and onlays pediment accents add dimension and vintage charm, making them perfect for DIY furniture makeovers.
Why Use Decorative Appliques for Furniture Projects?
Using decorative appliques offers several advantages:
- Instant Transformation: Even a plain dresser or cabinet can look luxurious with added detailing.
- Cost-Effective Upgrade: Instead of buying new furniture, you can revamp old pieces.
- Customization: Choose styles that match your décor theme—classic, modern, rustic, or antique.
- Beginner Friendly: Most appliques are easy to attach using glue or adhesive.
These benefits make them a favorite among DIY enthusiasts who want maximum impact with minimal effort.
Tools and Materials You’ll Need
Before starting your project, gather these essentials:
- Appliques and onlays pediment pieces
- Wood glue or construction adhesive
- Sandpaper (medium and fine grit)
- Paint or stain
- Primer
- Measuring tape and pencil
- Clamps or painter’s tape
- Sealant or varnish
Having everything ready ensures a smooth workflow and professional finish.
Step-by-Step Guide to Applying Appliques and Onlays
1. Prepare the Furniture Surface
Clean the furniture thoroughly to remove dust, grease, or polish residue. Lightly sand the area where you’ll attach the applique so the adhesive bonds properly. Wipe away sanding dust with a dry cloth.
2. Plan Your Design Layout
Before gluing anything, position your appliques and pediment pieces on the furniture. Experiment with placement until you find a balanced design. Symmetry works well for traditional styles, while asymmetrical arrangements suit modern aesthetics.
3. Attach the Appliques
Apply a thin, even layer of adhesive to the back of the applique. Press it firmly onto the furniture surface and hold for a few seconds. Use clamps or painter’s tape to keep it secure while drying.
4. Install the Pediment Accent
If you’re adding a pediment to the top of a cabinet, mirror frame, or wardrobe, measure carefully to ensure it’s centered. Attach it using strong adhesive or small finishing nails if needed for extra support.
5. Fill Gaps and Sand
Once the adhesive is dry, check for gaps around the edges. Fill them with wood filler, let it dry, and sand lightly for a seamless look.
6. Prime and Paint
Apply primer first, especially if you’re painting over dark wood or mixed materials. After it dries, paint or stain the furniture and decorative pieces in your chosen color. Many DIYers highlight details by using a contrasting shade or applying a glaze to accent carvings.
7. Seal for Durability
Finish with a clear sealant or varnish to protect your work from scratches and moisture. This step ensures your DIY furniture makeover lasts for years.
Creative Design Ideas
Here are a few inspiring ways to use appliques and onlays pediment decorations:
- Vintage Dresser Makeover: Add floral appliques to drawer fronts and a pediment on top for a French-inspired look.
- Statement Headboard: Install a decorative pediment above a plain wooden headboard for a luxurious bedroom feature.
- Elegant Cabinet Doors: Attach symmetrical scroll onlays to cabinet panels for a classic aesthetic.
- Mirror Frame Upgrade: Glue ornate appliques around a simple mirror to create a statement wall piece.
These ideas show how versatile decorative onlays can be across different furniture types.
Tips for Professional Results
- Always measure twice before attaching decorative elements.
- Use high-quality adhesive for long-lasting hold.
- Paint appliques separately before attaching if you want multi-color designs.
- Lightly distress raised details for an antique finish.
- Work in a well-lit space to ensure accurate placement.
Attention to detail is what separates a basic DIY project from a showroom-worthy transformation.
Common Mistakes to Avoid
Even simple projects can go wrong without proper planning. Avoid these pitfalls:
- Skipping surface preparation, which can cause appliques to fall off.
- Using too much glue, leading to messy edges.
- Not aligning pieces properly before they dry.
- Forgetting to seal the finished surface.
Taking your time and following each step carefully will ensure success.
Conclusion
Decorative embellishments like appliques and onlays pediment designs are powerful tools for anyone interested in DIY furniture makeovers. They allow you to transform plain or outdated pieces into elegant, customized furniture without advanced carpentry skills. By preparing surfaces properly, choosing the right layout, and finishing with quality paint and sealant, you can achieve professional results from the comfort of your home. For high-quality decorative elements and creative inspiration, explore the collection available at VFLEX to bring your furniture makeover ideas to life.
FAQs
1. Are appliques and onlays suitable for beginners?
Yes. Most decorative appliques are designed for easy installation using glue, making them ideal for beginners.
2. Can I paint appliques after attaching them?
Absolutely. You can paint them after installation or beforehand if you want detailed color effects.
3. What type of furniture works best with pediment accents?
Cabinets, wardrobes, mirrors, headboards, and dressers are perfect for pediment designs because they have a top surface where the accent can be displayed.
4. Do I need special tools to install onlays?
No special tools are required—basic supplies like adhesive, sandpaper, and paint are usually enough.
5. How do I make decorative details stand out?
Use highlighting techniques such as dry brushing, glazing, or light distressing to emphasize carved patterns.